Back in the 1990s, I drove Brooks Wackerman to a Spinal Tap rehearsal.
The location was a hotel in Los Angeles. The occasion was Rob Reiner’s surprise 50th birthday party.
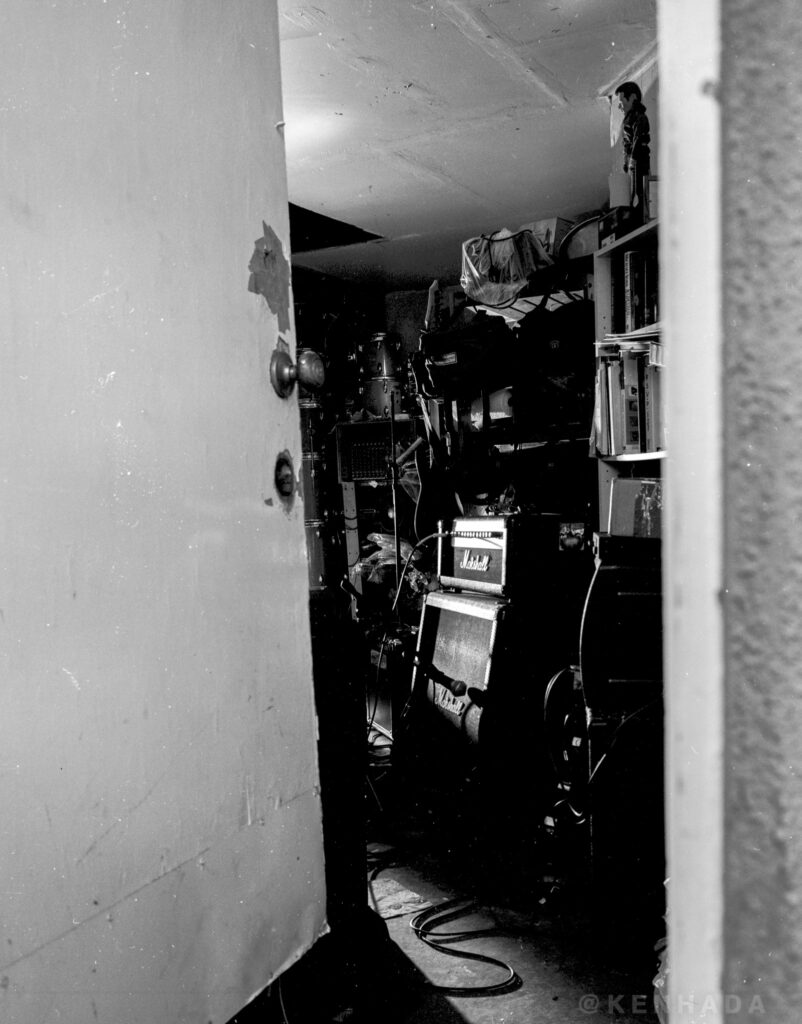
When we arrived, we were directed down a set of stairs into what felt like a locker room. And suddenly there we were—Tap, Brooks, and me. The band introduced themselves to us like it was the most natural thing in the world.
At some point they said, “We need to name you.”
I think it was Nigel who said,
“Treva… Trevor Shrimpton.”
Eventually we made our way to the stage. The band took the stage, and I sat alone in the audience.
What I witnessed during that rehearsal was mind-blowing. I watched the actors literally transform into Tap in real time. A single mannerism would surface—the gentle dip of a guitar headstock. Moments later, a puckering of the lips. And within one song, the actors were gone.
They were nowhere to be seen.
There was only Spinal Tap on stage.
So I sat there, alone in that space, watching Spinal Tap perform.
I never got to meet Rob Reiner, but I always admired his work. I grew up watching All in the Family, and later fell in love with Stand By Me and Spinal Tap. His work showed how comedy, music, and humanity could live in the same place.
That rehearsal has stayed with me ever since.
RobReiner #SpinalTap #StandByMe