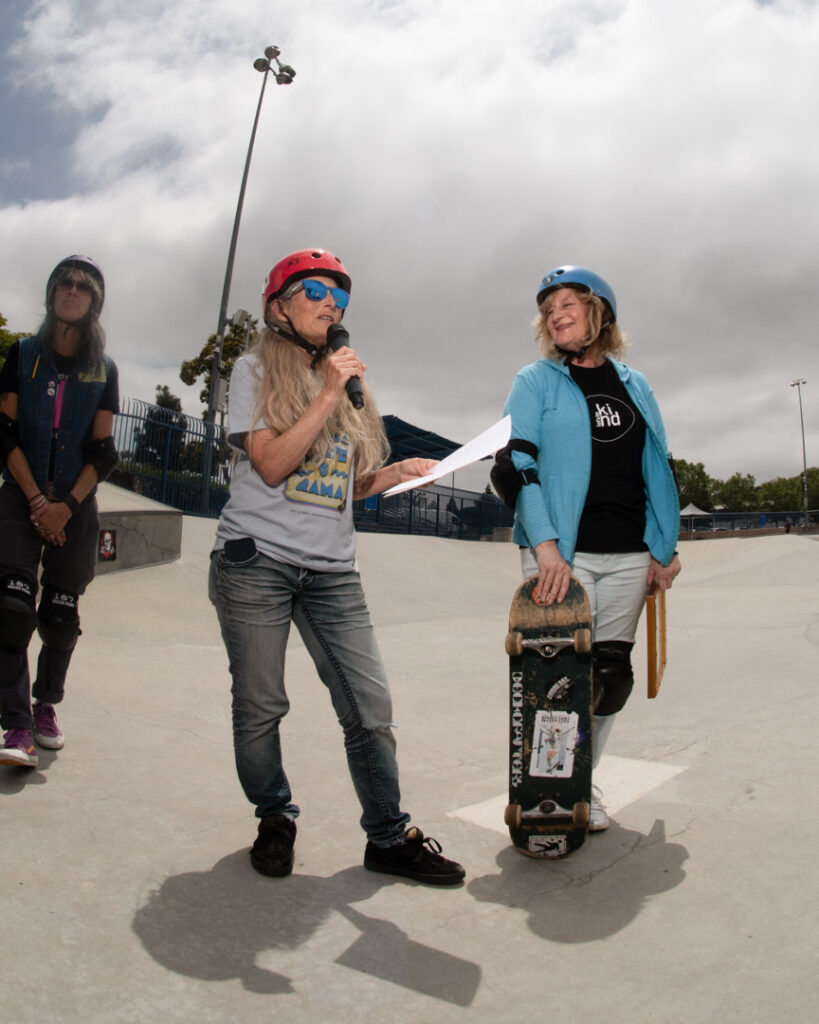
Skateboarding on Mother’s Day? In a world where skateboarding events often prioritize competition and sponsorship deals, “Mighty Mama Skate-O-Rama” stands out as a rare beacon of grassroots skateboarding. Mighty Mama Skate-O-Rama is a celebration driven not by corporate interests, but by the pure love of the sport. Founded by author Barb Odanka, this event embodies the essence of skateboarding for the sheer joy of it.
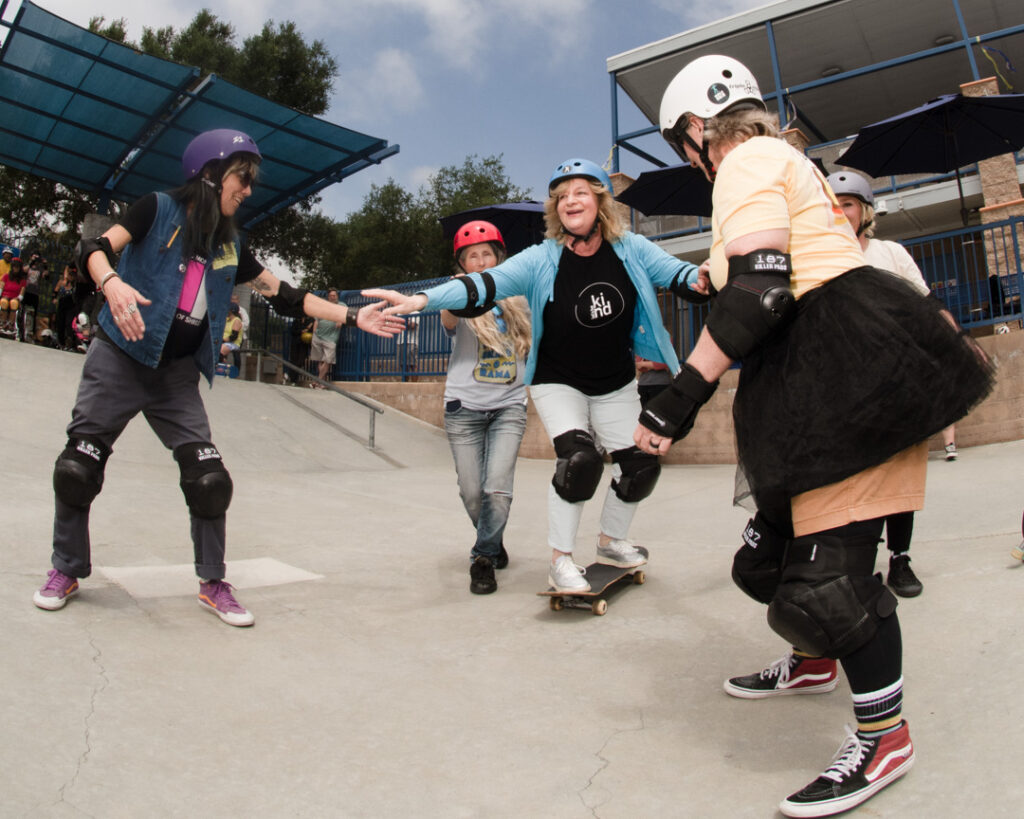
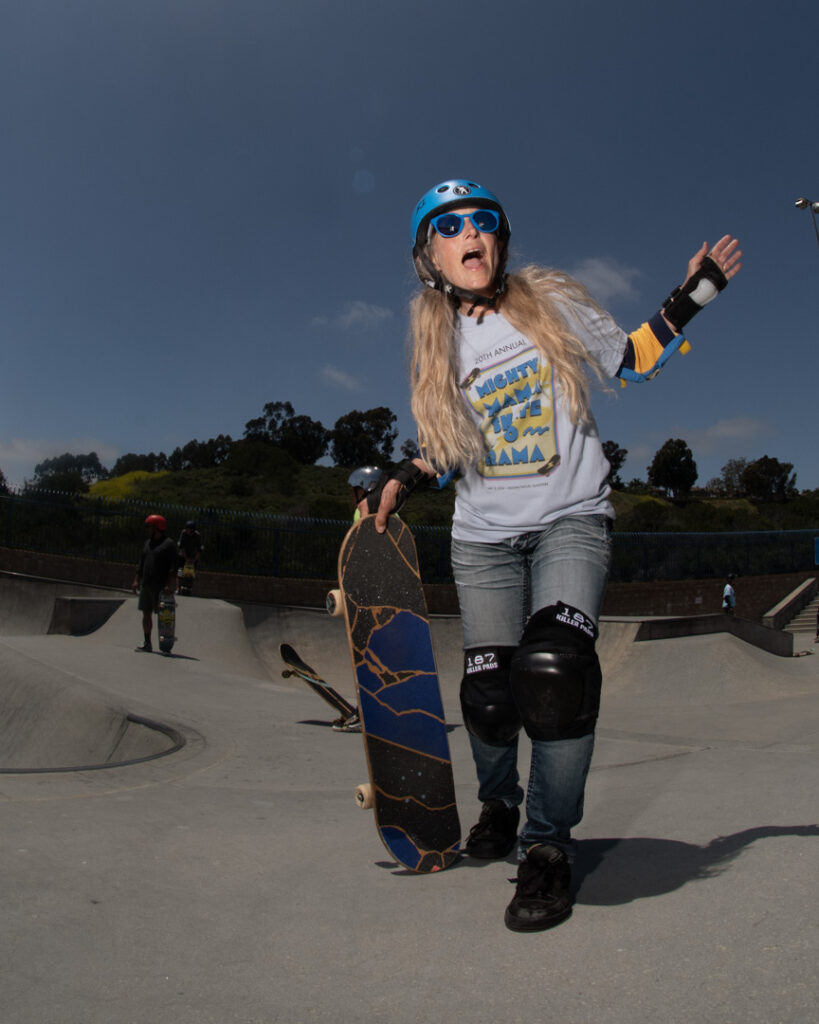
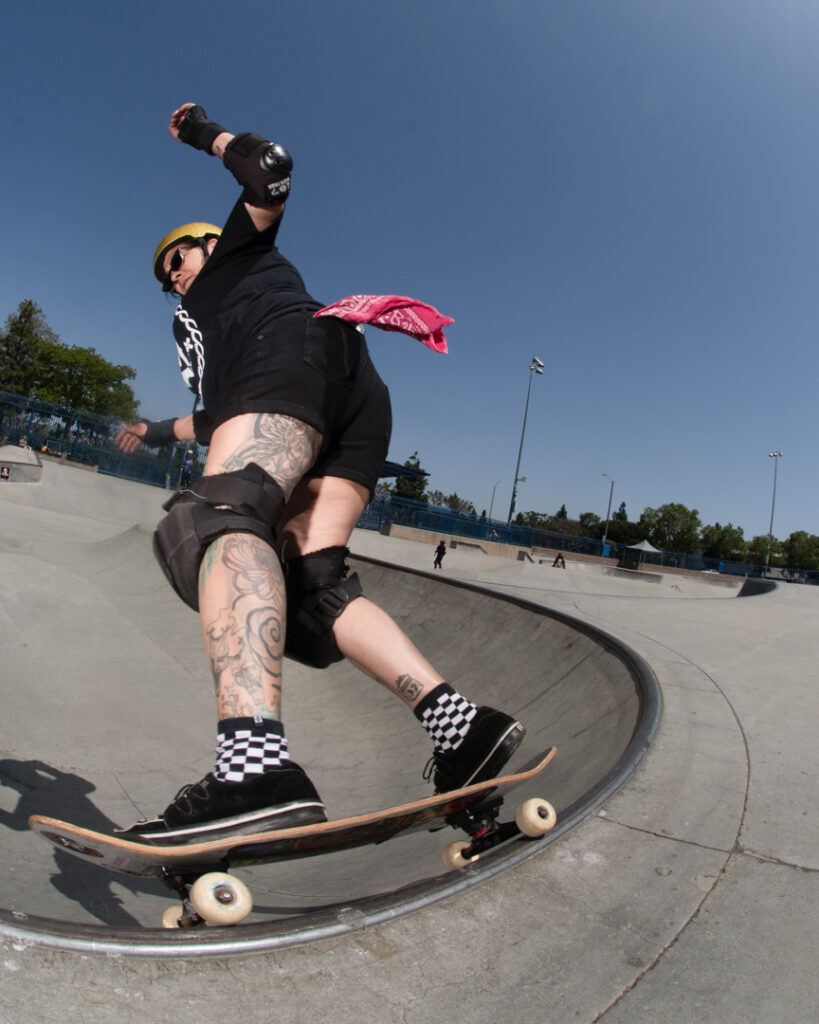
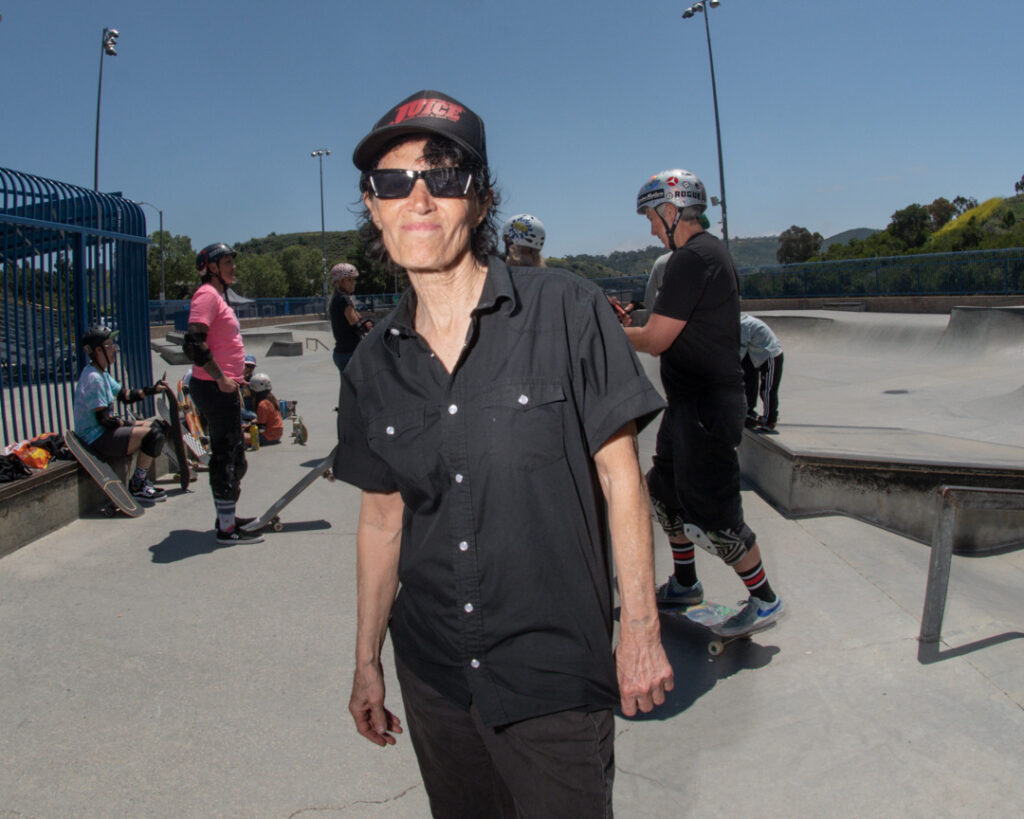
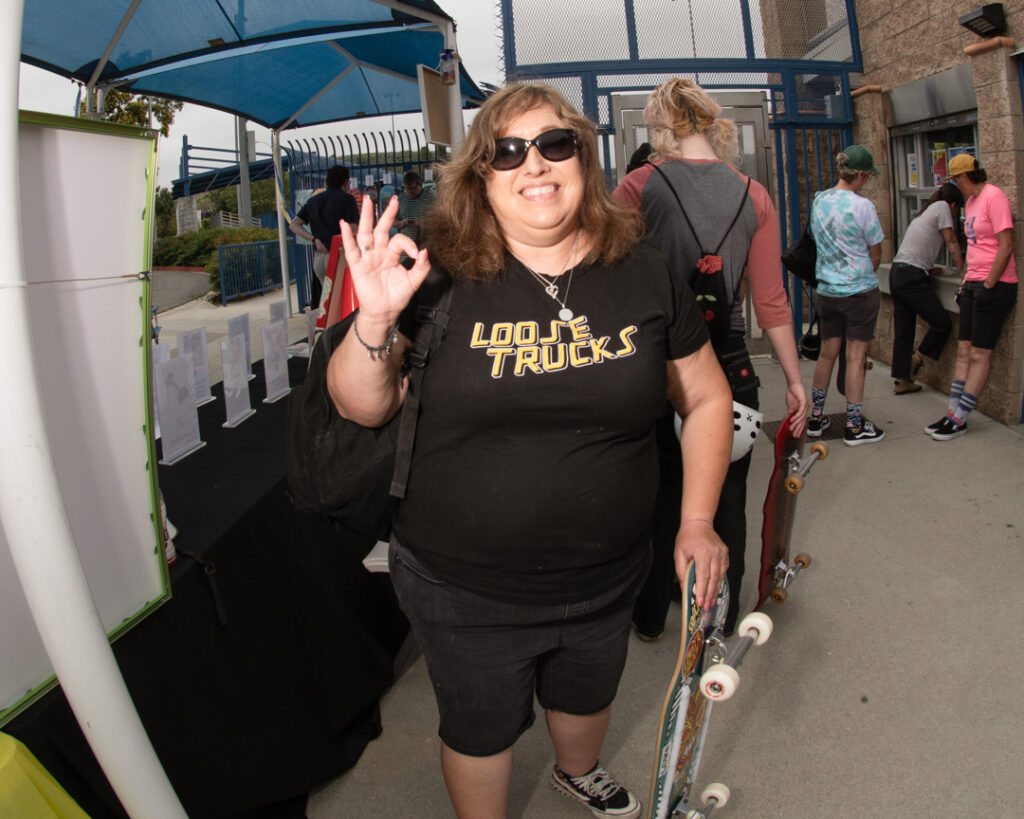
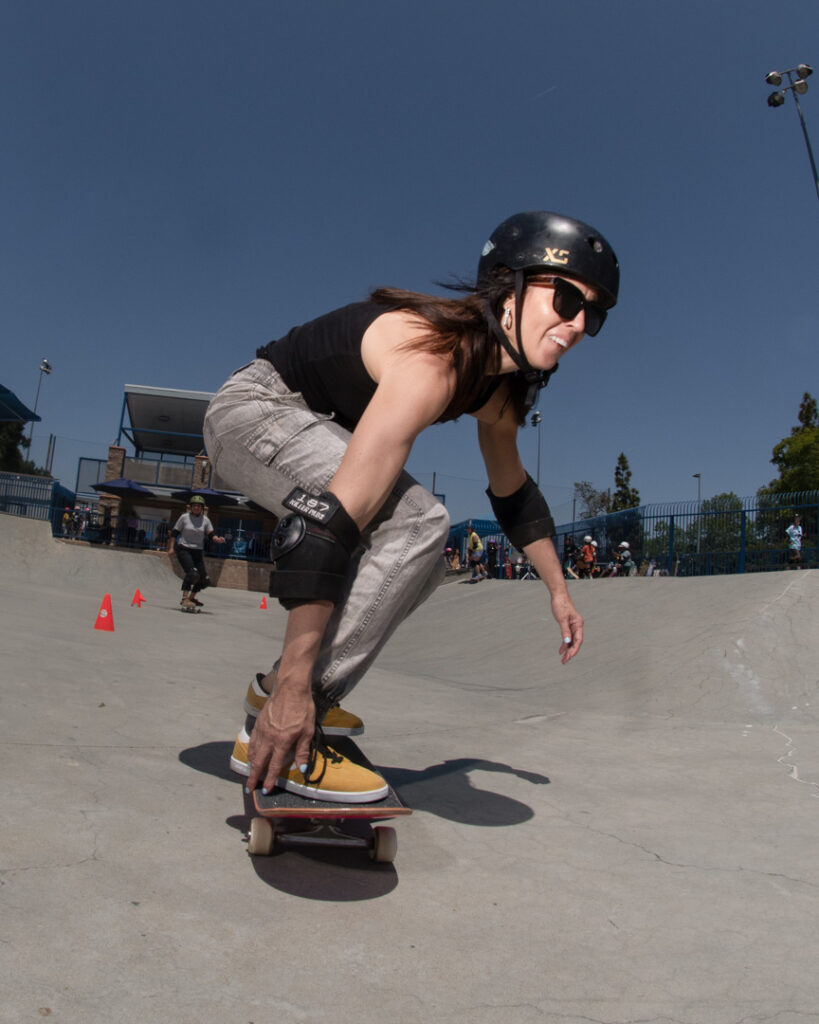
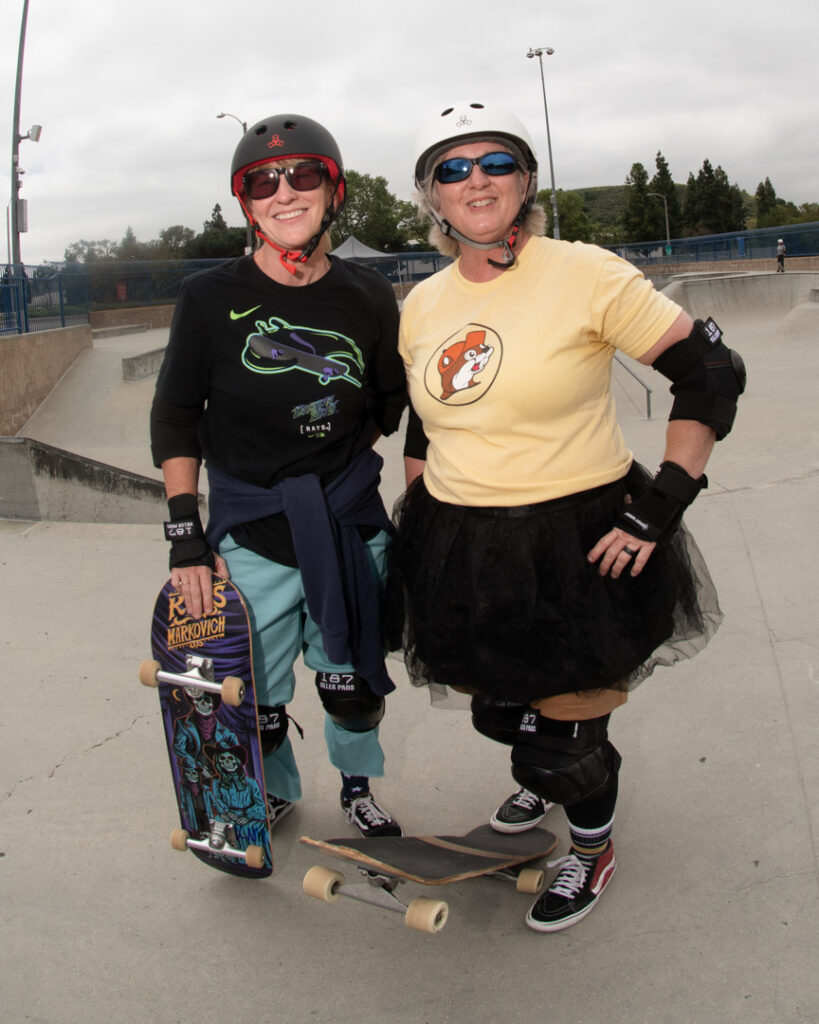
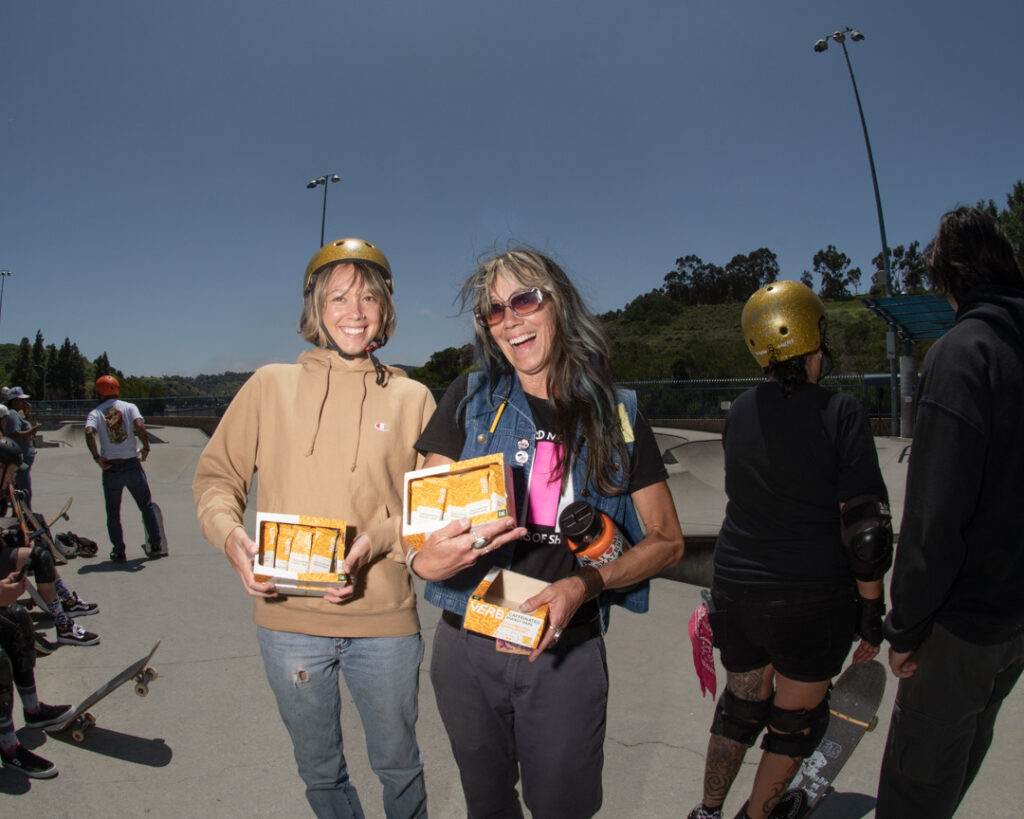
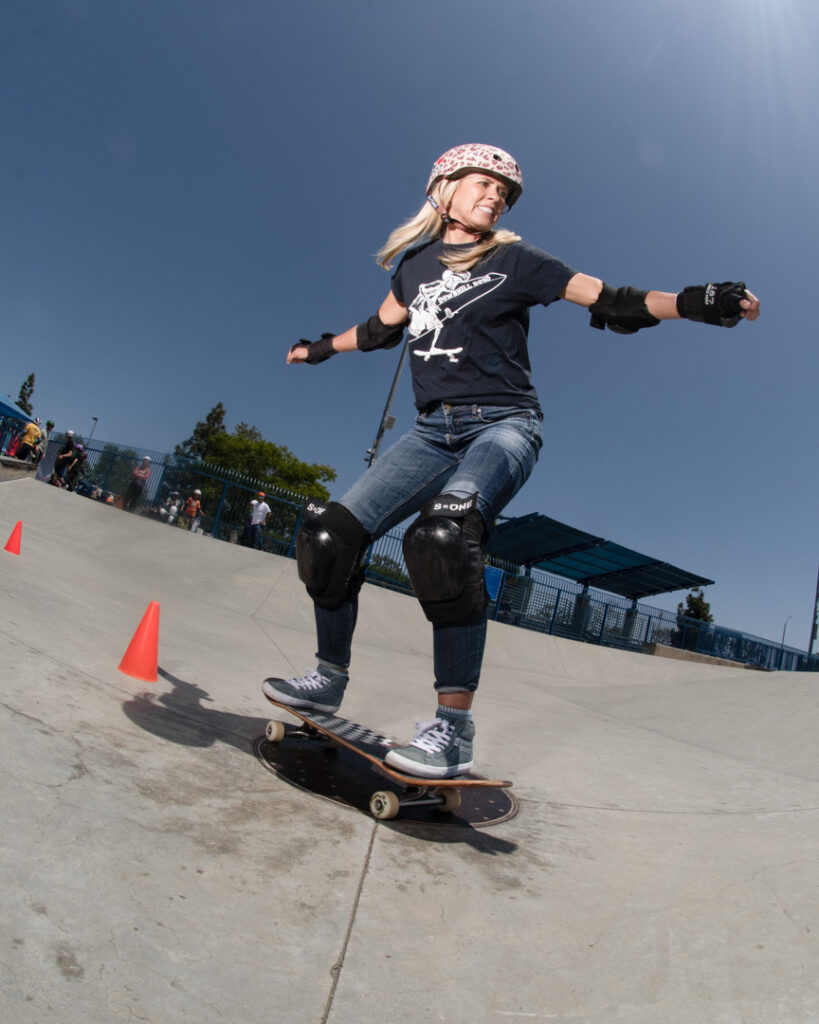
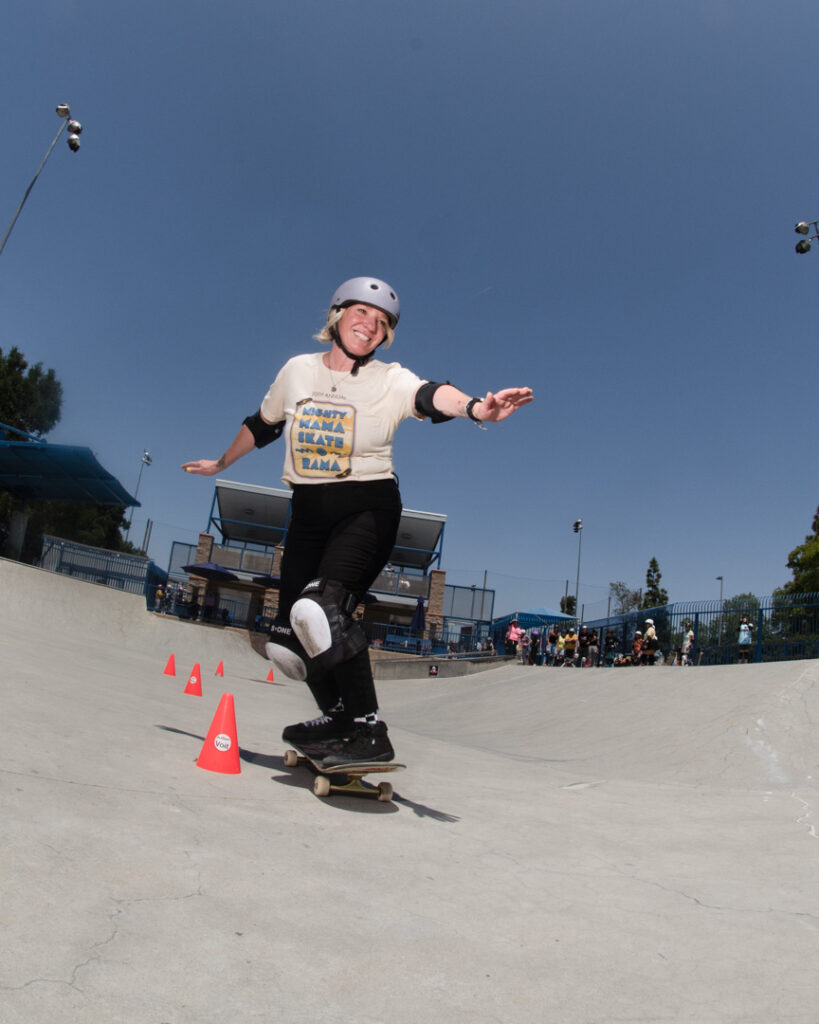
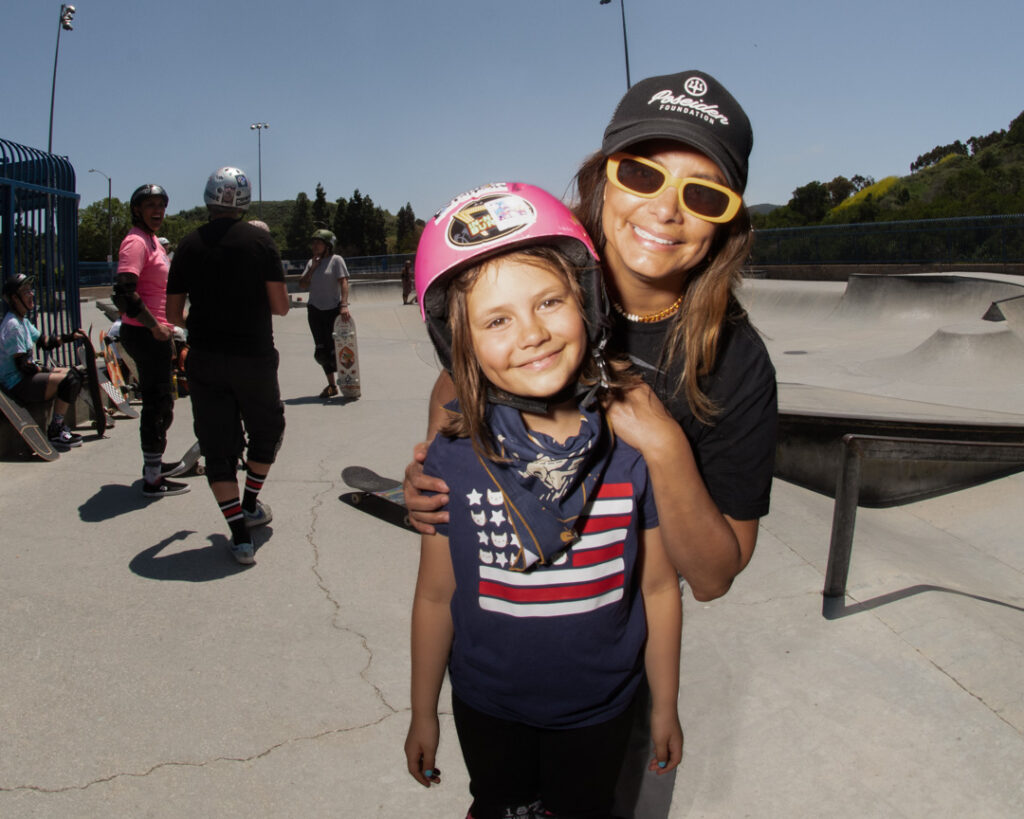
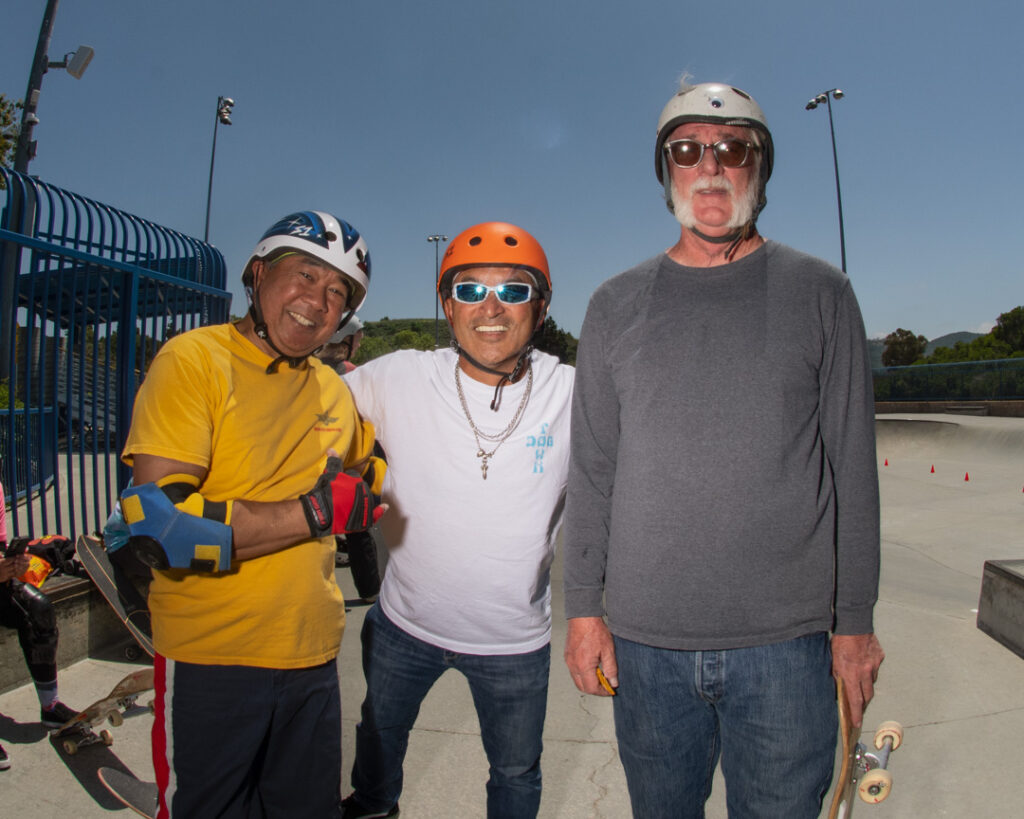
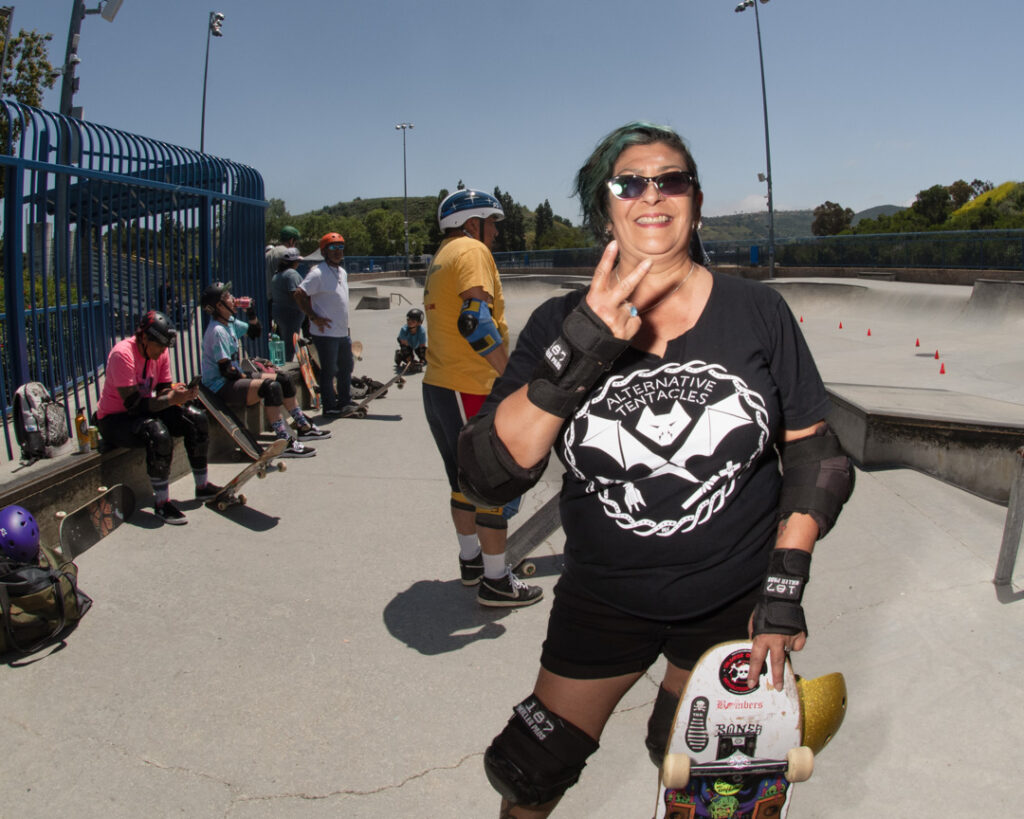
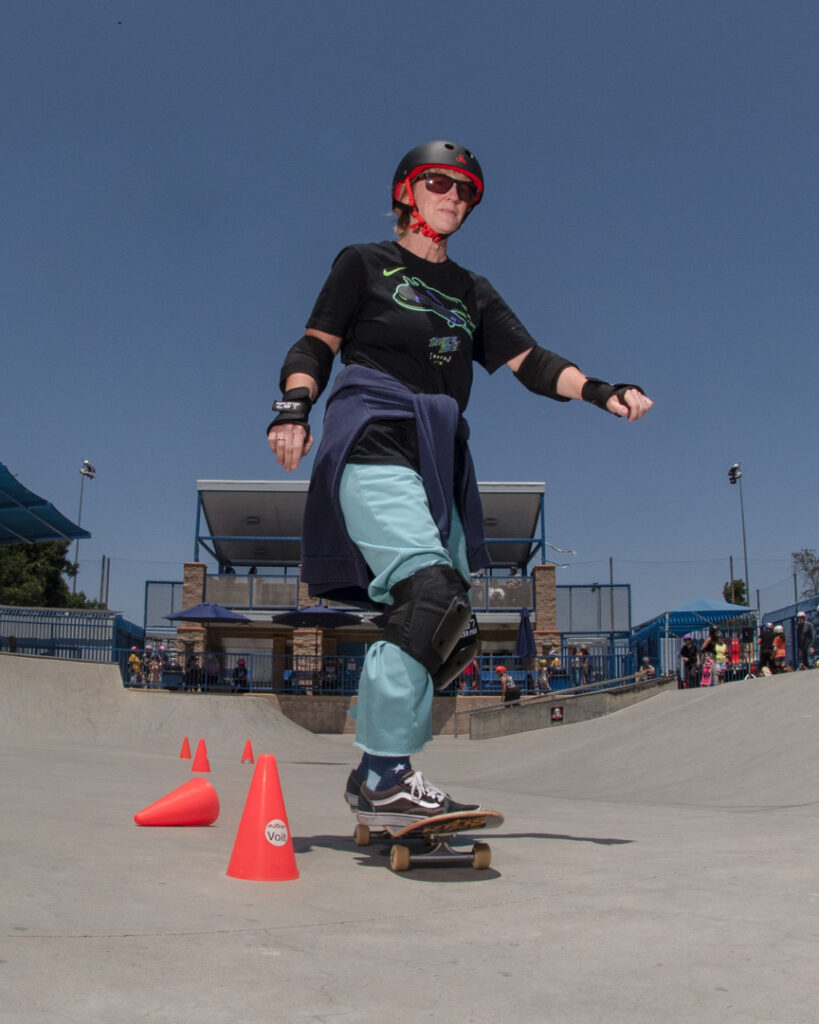
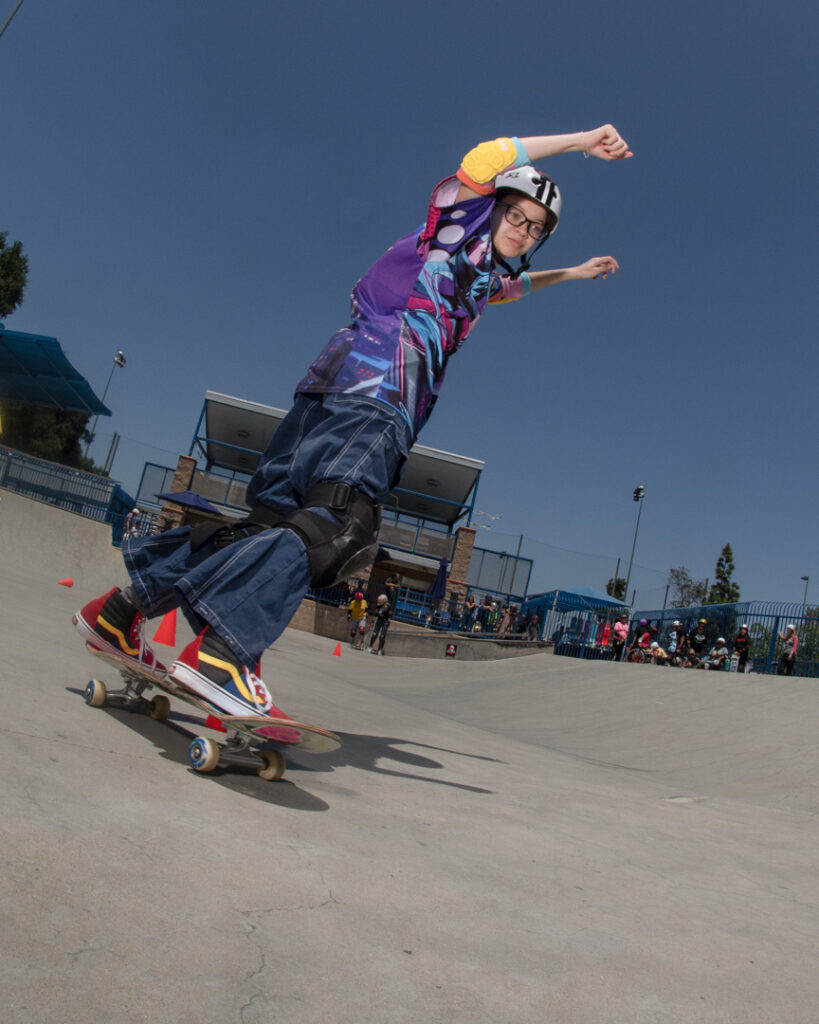
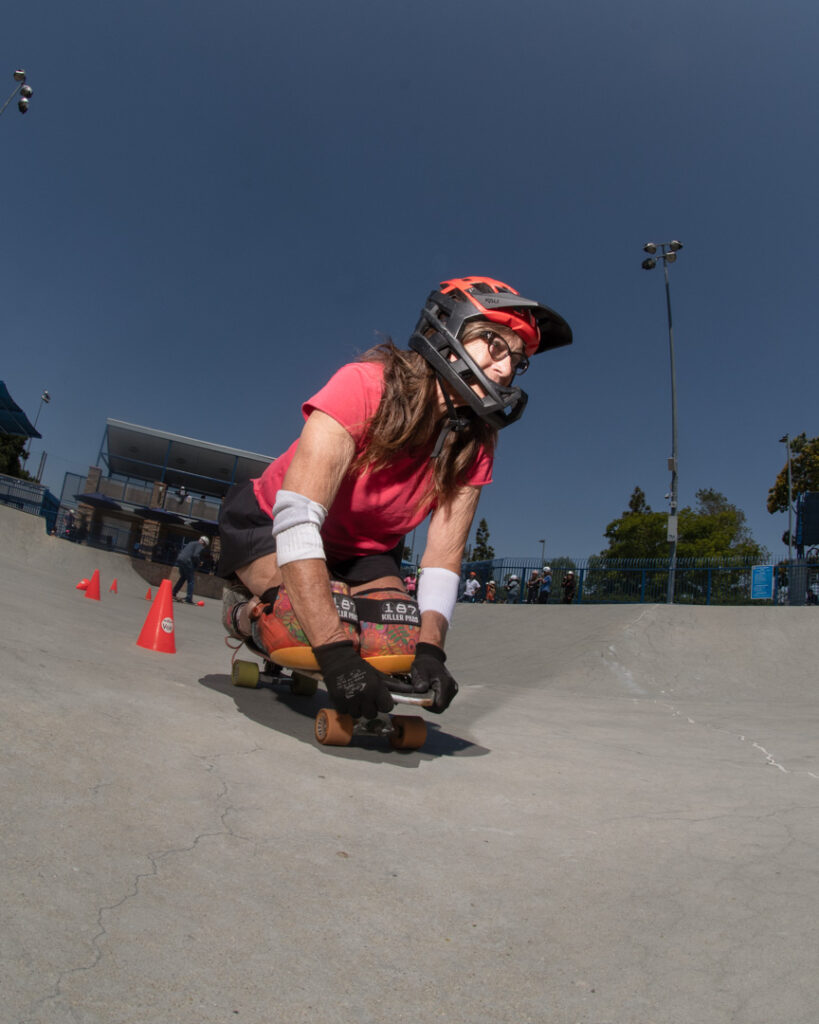
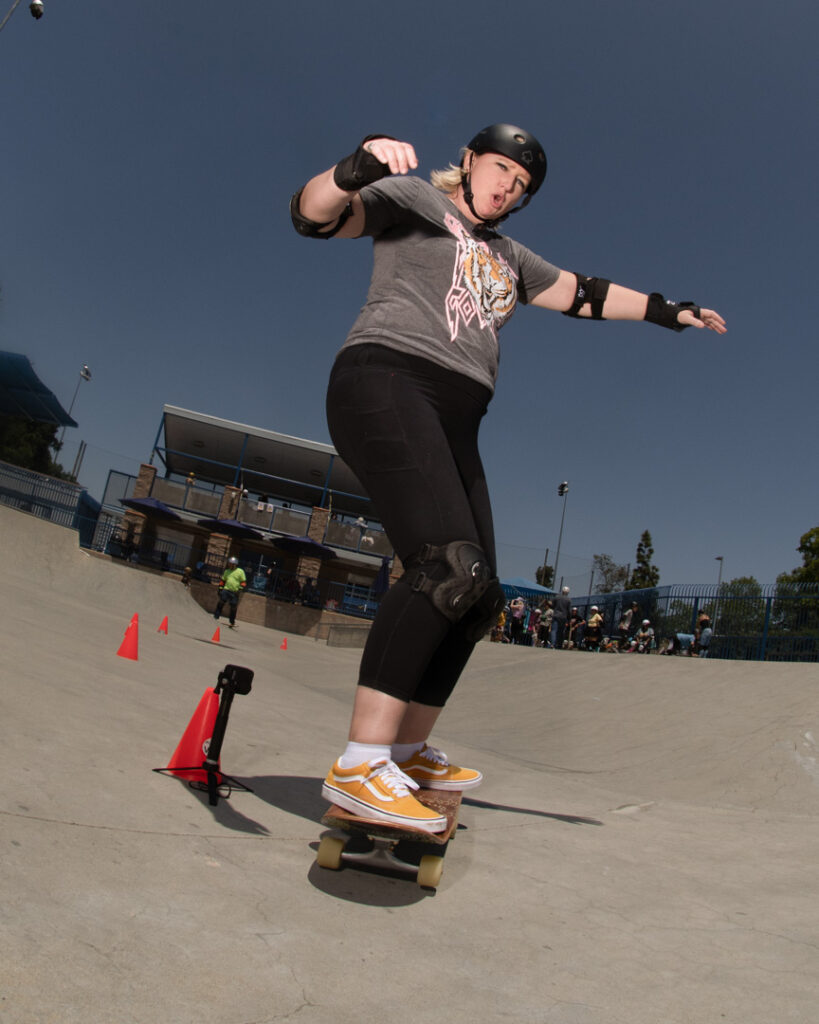
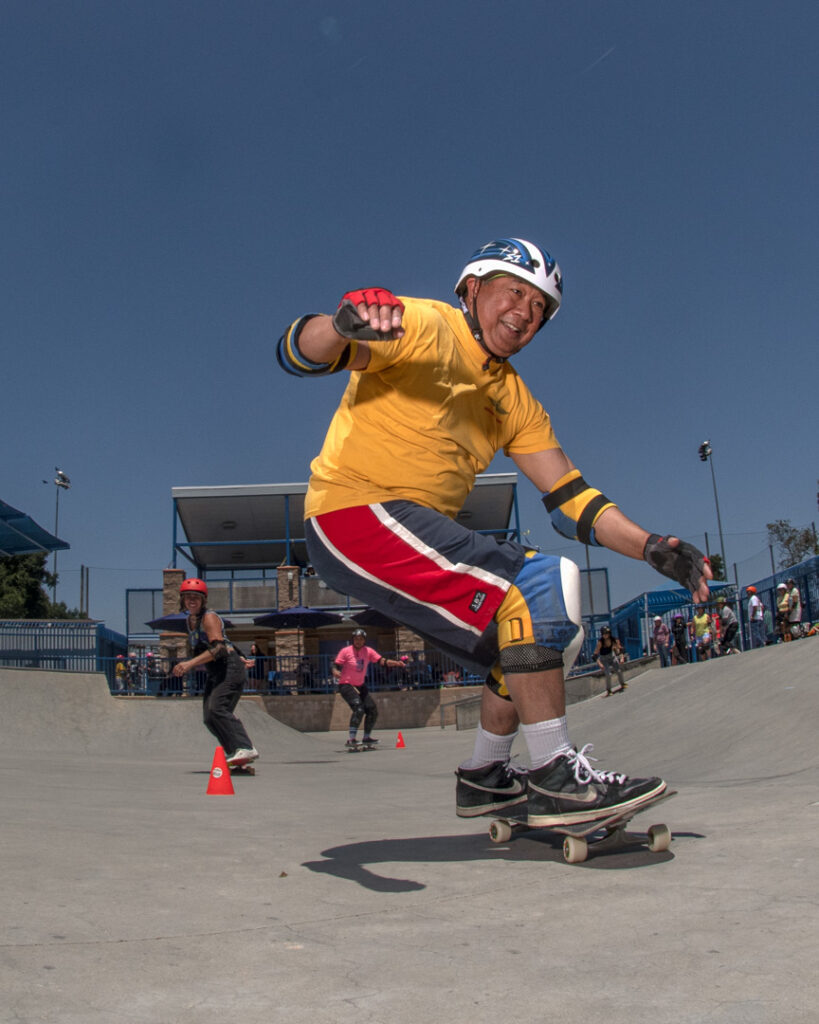
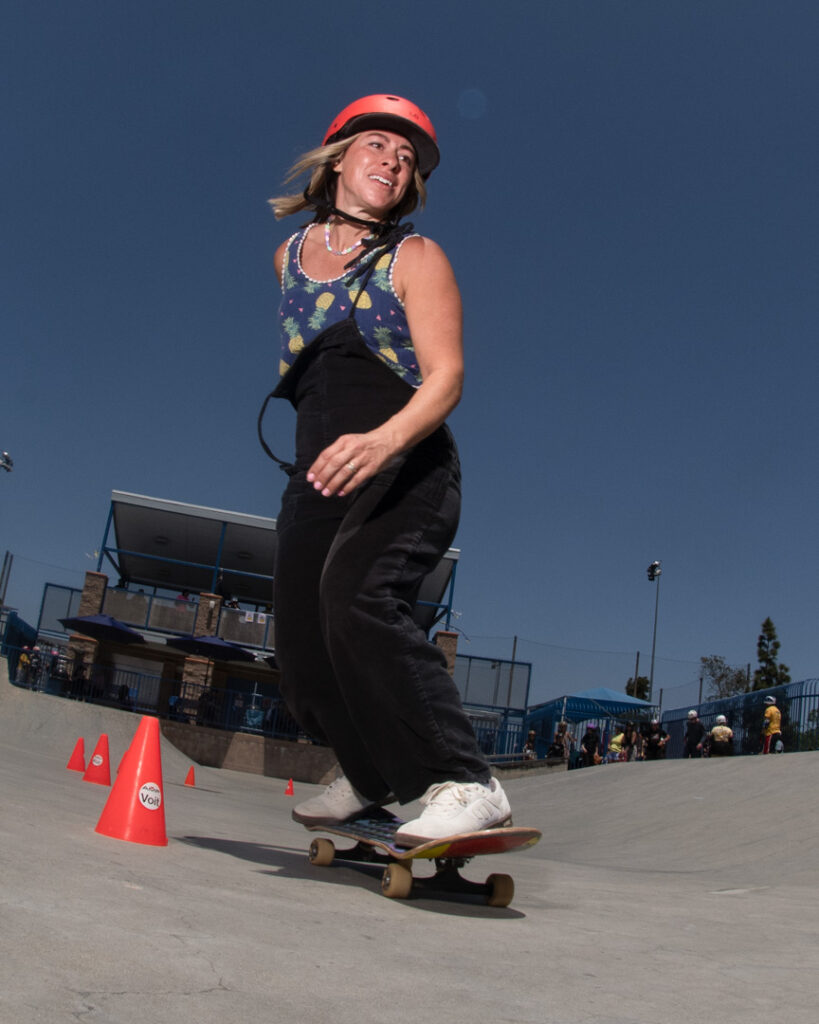
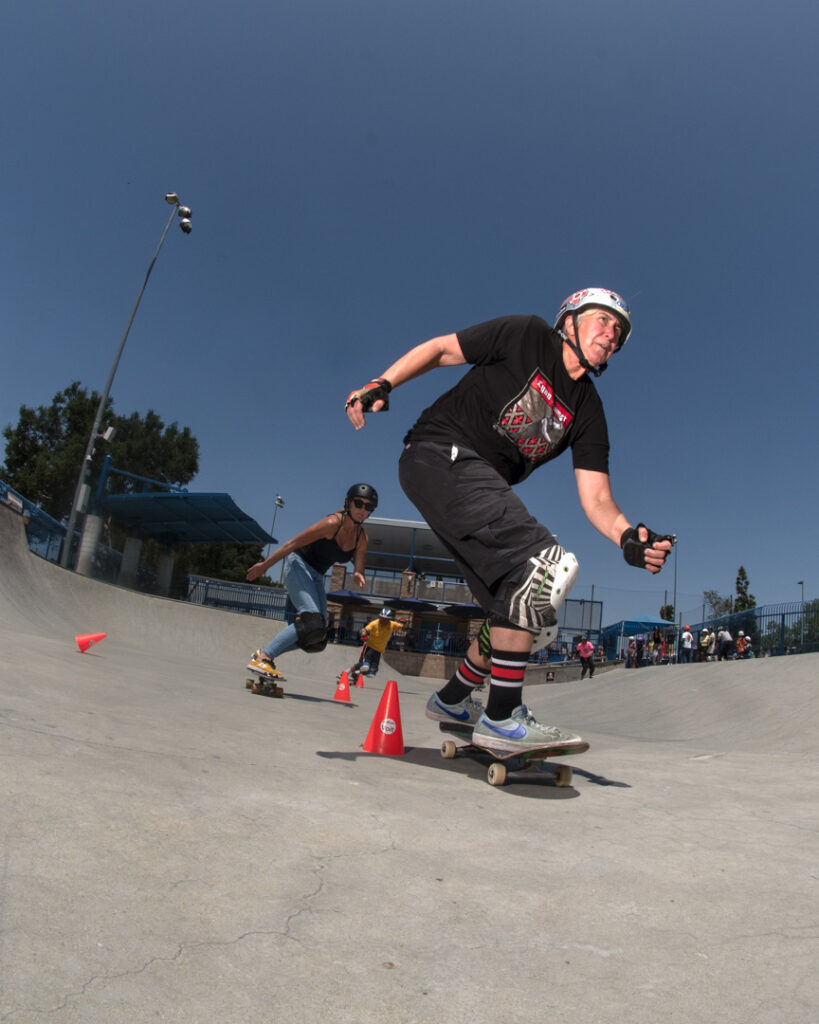
Photographing Mighty Mama Skate-O-Rama offers a glimpse into a world where skateboarding isn’t about prizes or recognition. Instead, this yearly event is about the simple pleasure of rolling on four wheels. Each photograph captures moments of enthusiasm and unfiltered creativity. Mothers and their children revel in the freedom of expression that skateboarding provides.
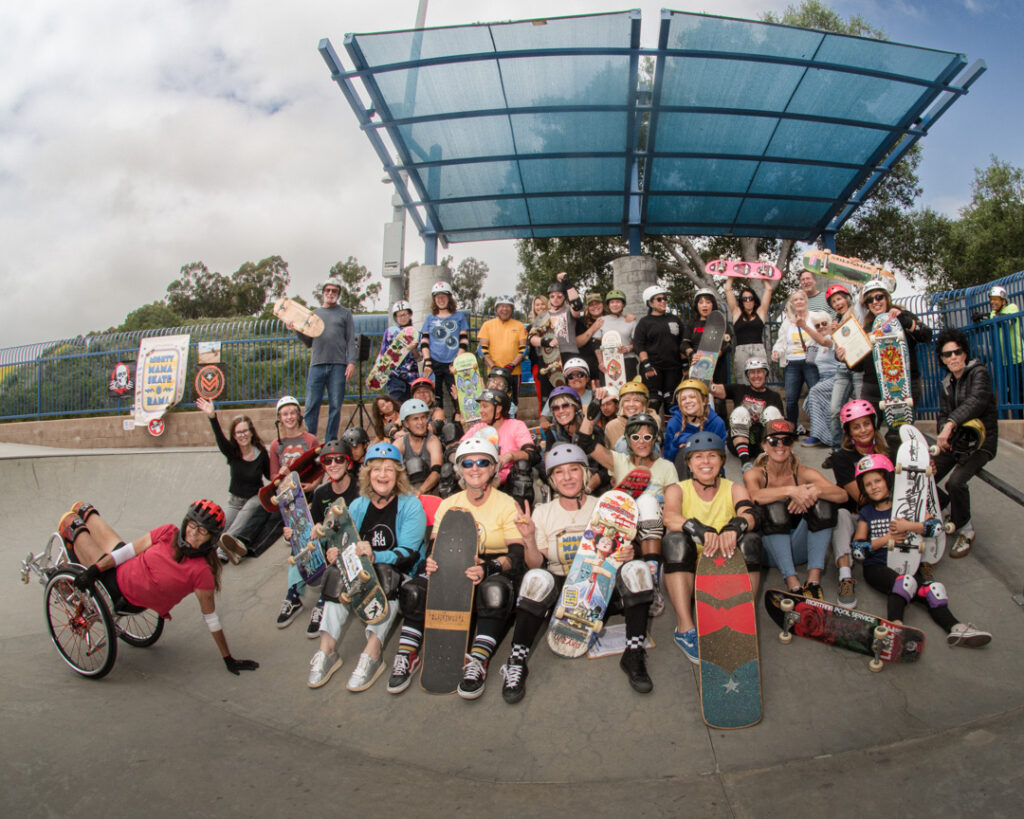
Against the backdrop of the Laguna Niguel Skatepark, these images tell a story of authenticity and community. In fact, this is a place where skaters of all ages and backgrounds come together to share in the thrill of riding. From beginners finding their balance to seasoned veterans, Mighty Mama Skate-O-Rama embraces skateboarding in its purest form—a celebration of freedom, creativity, and the boundless joy of rolling with friends.
As the event continues to thrive year after year, it serves as a reminder that, at its core, skateboarding is about more than just tricks. Skateboarding is about connection, camaraderie, and the simple pleasure of riding. In a world that often moves at breakneck speed, Mighty Mama Skate-O-Rama offers a chance to slow down, connect with others, and rediscover the joy of skateboarding for the sheer love of it.
Skateboarding On Mother’s Day?